Graphic Re-education, A Better Writing Solution
Although writing seems like a simple activity, developing fine motor skills correctly takes time and a lot of practice. How many times have you said the typical phrase that someone has a ‘doctor’s handwriting’? Have you ever read sentences where words seem to dance on paper? These habits are common (and not just in children), but they can be corrected with graphic re-education.
What is graphic re-education?
Graphic reeducation means, as the name implies, learning to write again. However, this is not just down to handwriting as is generally thought, but also encompasses motor aspects or the organization of the content.
What does graphic re-education consist of?
Now that you know what it is, you will ask yourself, “So what? What to do?” We need to know in more detail in which areas this new learning improves our way of writing.
the twelve strokes
Alphabetical writing consists of twelve strokes. These lines can be straight or curved, in the vertical and horizontal direction. It sounds easy, but you have to keep in mind that to write a single letter you need to recruit a lot of muscles, in a very precise way.

We’ll use your analytics skills so you understand the importance of having a good foundation. Take paper and pencil and write a g by hand, just like children do. Note the changes of direction left and right and up and down. It’s a lot of moves to make just one letter, right?
Imagine multiplying these movements until you get a sentence or text. It’s not a simple task. That’s why it ‘s vital to internalize the movements correctly, so that less effort is required.
improve the presentation
Presentation refers to cleaning and organizing a text. There are times when the lines go up and down making filigree or perhaps even the margins may be non-existent.
A good presentation speeds up reading and helps you understand the text. When children need to summarize, read or look up information in a text they have written, the task can be overwhelming. Studying already requires a great deal of concentration. There is no need to make this any more complicated than it already is.
Graphic re-education exercises
Graphic re-education is a long-distance race, in such a way that it is necessary to have patience and be very persevering. Both fine motor movements and organization are assimilated with timing and repetition. So the most important thing is that writing becomes a habit.
calligraphy exercises
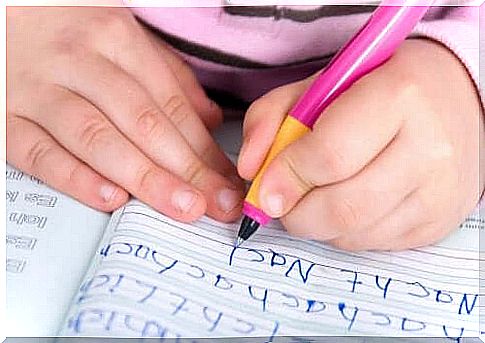
Calligraphy notebooks are well known and useful. However, they are generally not enough for people who resort to graphic re-education. In these cases, we need more consistency and repetition, in addition to correcting the movements of the whole arm and aspects such as how to hold a pencil, for example.
Remember that a punctual correction of these aspects is not enough, as it is a complex habit that must be changed. Therefore, an expert in this field will be the best person to correct these ‘vices’.
On the other hand, we suggest some alternative exercises for young children to assimilate the letter strokes more easily.
For example, you can use embossed letters to make them follow the shape or finger paint so they write with less effort. These are fun ways for kids to start getting familiar with the letters.
Tricks for a good presentation
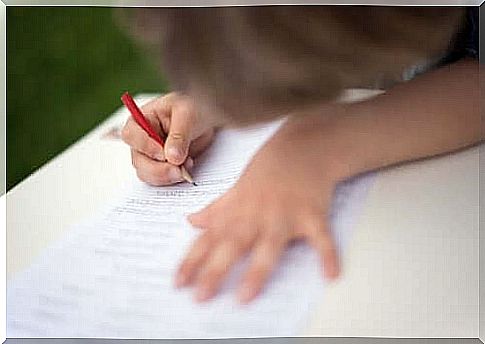
The best method to improve your presentation is to make a template. Children often write in lined or squared notebooks, but the real challenge lies in the blank sheets. So let’s solve this problem.
Take a squared notebook sheet and a black marker. Then, mark a line two squares below the top edge of the sheet and two vertical lines along the edges, until you reach the end of the sheet. Finally, draw horizontal lines every two squares until the sheet is filled.
When you have to write on a sheet, place it on top of the template and secure it with two paper clips at the edges. This way, the children will be able to see the lines of the markings faintly on the sheet and this will serve to guide the writing.
If they get used to writing in this way, the movements to write straight and within the margins of an unlined surface will be automated.